繼前面一篇講完基本安裝後,接著來把地圖給畫到網頁上,在 vue component 裡建一個 template:
<template>
 <div style="height: 500px">
  <l-map
      :zoom="zoom"
      :center="center"
      :options="mapOptions"
      style="height: 100%"
    >
  </l-map>
 </div>
</template>
有確實安裝 component 後,只要使用 l-map 就可以把地圖顯示出來了,一樣透過 props 把參數傳進去。
import { latLng } from "leaflet";
import { LMap } from "vue2-leaflet";

export default {
  name: "Example",
  components: {
    LMap,
  },
  data() {
    return {
      zoom: 13,
      center: latLng(25, 121),
      url: 'https://{s}.tile.openstreetmap.org/{z}/{x}/{y}.png',
      attribution:
        '© OpenStreetMap contributors',
      mapOptions: {
        zoomSnap: 0.5
      },
    };
  },
};
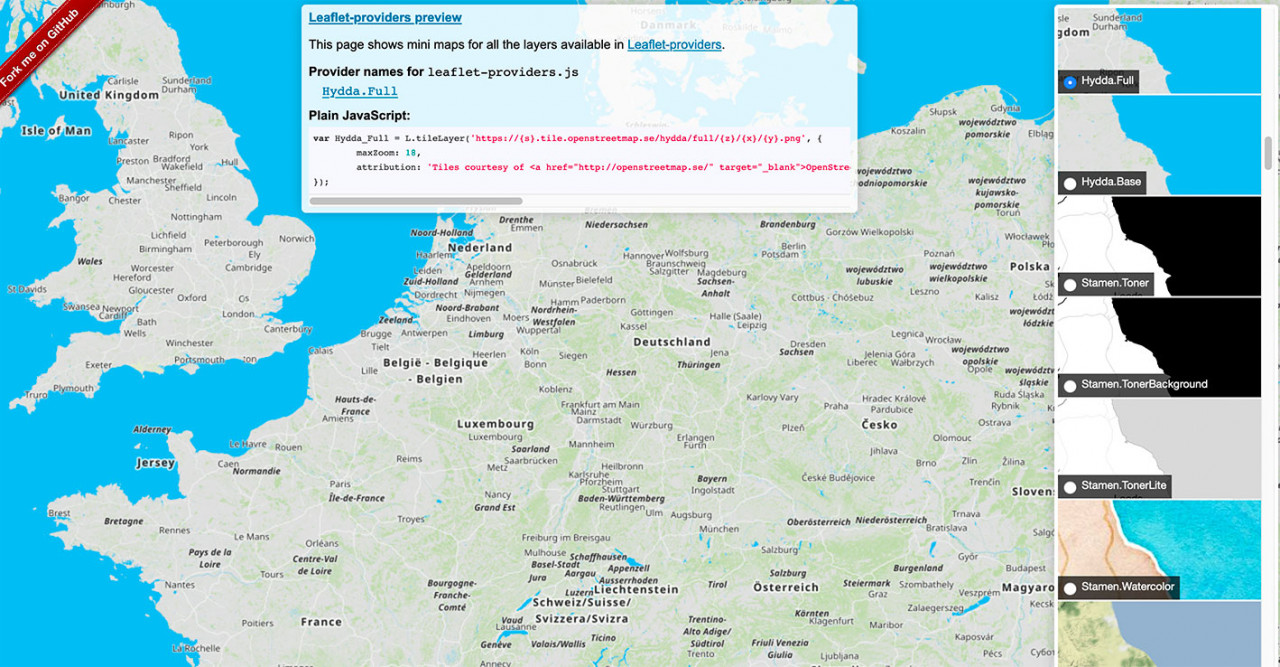
其中 zoom 用來設定地圖縮放的大小,center 則是中心點的經緯度, url 跟 attribution 則可以設定地圖樣式,上面的範例是 openstreetmap 的基本樣式,如果有想設定不同樣式的話,可以參考 Leaflet Provider,選擇一個喜歡的樣式再替換掉 url 跟 attribution 就好了。


![[Vue.js] 取得 component 中 input 的資料](/assets/upload/1583563899683_0.jpg)
![[Google Maps API] 更改地圖樣式](/assets/upload/1636728921664_0.png)
![[AMP] 點擊按鈕與內容複製功能](/assets/upload/1582725719080_0.jpg)


