說明一下如何在網站上使用 google OAuth 登入。
Step 1 取得 Client ID
要在網站使用 google 的 API 登入要先取得 Client ID,以下是取得方法:
1. 到 Google Cloud 建立一個專案,或是使用既有專案也可以。
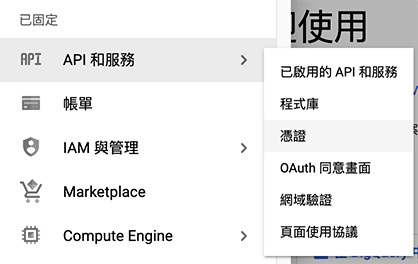
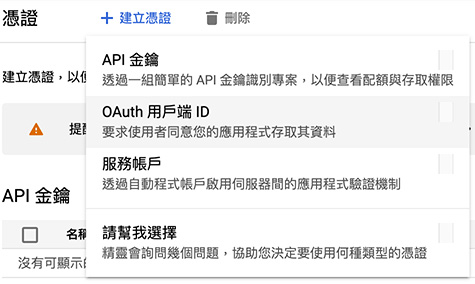
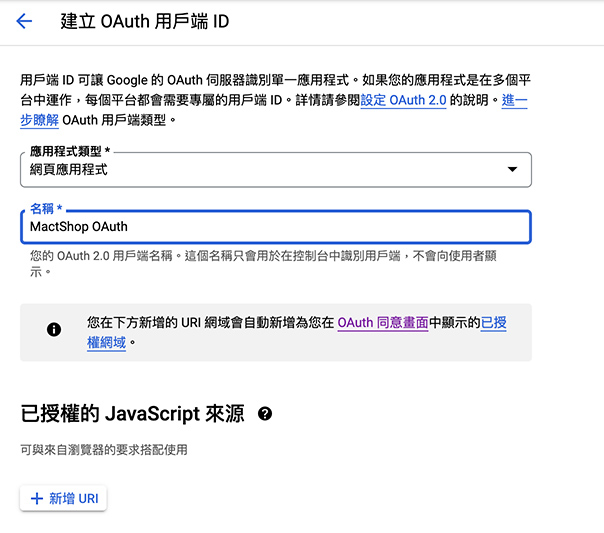
2. 選擇 API 和服務 -> 憑證 -> 建立憑證 -> OAuth 用戶端 ID
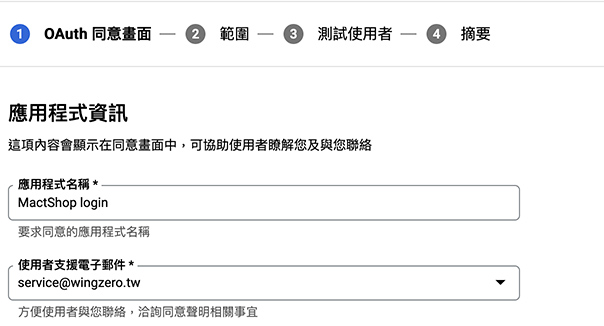
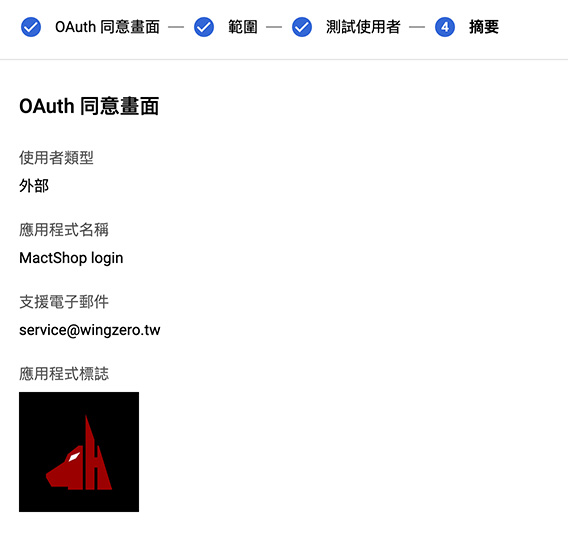
3. 填入必要資訊
首次設定會需要再設定名稱,使用者那些的,就依序設定就好了。
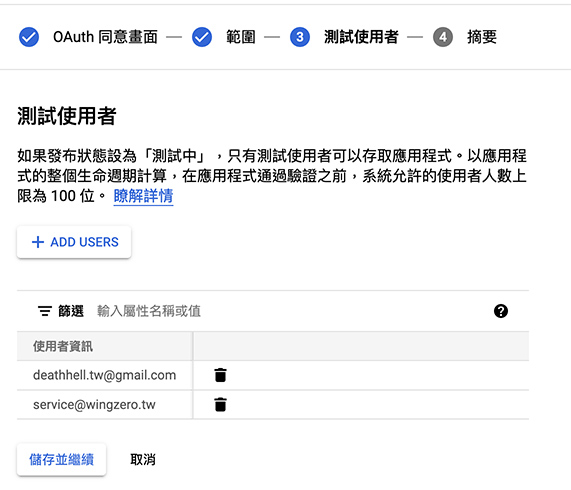
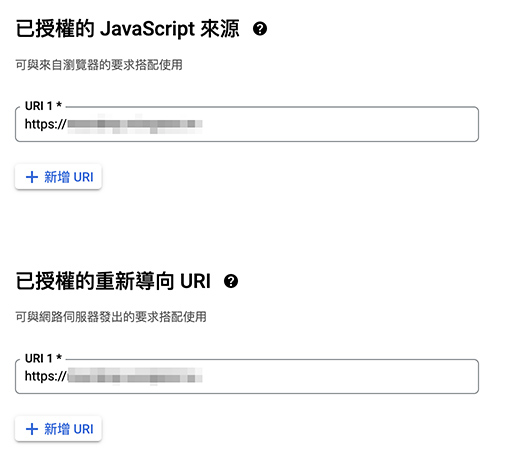
4. 設定要存取的網域
這邊要設定你要利用 google 登入功能的網域,不然會無法使用。
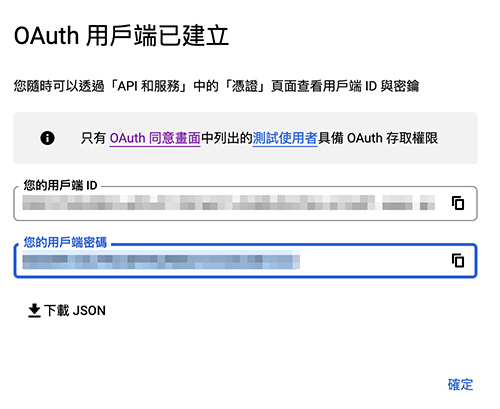
設定成功後可以記住用戶端 ID,之後會用到
Step 2 在網站登入
1. 讀入 API script
<script src="https://accounts.google.com/gsi/client" async defer></script>2. 加入 google 登入按鈕,可以使用 HTML 或 javacript,並可以做一定程度的客製化,以下是 HTML 的用法。
<div id="g_id_onload"
         data-client_id="YOUR_GOOGLE_CLIENT_ID"
         data-login_uri="https://your.domain/your_login_endpoint"
         data-auto_prompt="false">
</div>
<div class="g_id_signin"
         data-type="standard"
         data-size="large"
         data-theme="outline"
         data-text="sign_in_with"
         data-shape="rectangular"
         data-logo_alignment="left">
</div>
這邊要把 YOUR_GOOGLE_CLIENT_ID 換成先前申請好的用戶端 ID。
3. 設定登入後的事件。
在這邊會把呼叫 API 後的事件丟到 handleCallback,所以我們可以先看一下會抓到什麼
function handleCallback(response) {
    console.log(response);
}
回傳的內容大致如下:
{
    "clientId": "...",
    "credential": "...",
    "select_by": "btn"
}
我們要的資訊會在 credential 內,這個是 base64 的 JWT Token,需要透過解碼才能拿到使用者資料,這邊使用 stackoverflow 上的 code 來處理。
function parseJwt (token) {
   var base64Url = token.split('.')[1];
   var base64 = base64Url.replace(/-/g, '+').replace(/_/g, '/');
  var jsonPayload = decodeURIComponent(atob(base64).split('').map(function(c) {
    return '%' + ('00' + c.charCodeAt(0).toString(16)).slice(-2);
  }).join(''));

  return JSON.parse(jsonPayload);
};
function handleCallback(response) {
    const data = parseJwt(response.credential);
    console.log(data);
}
處理後的資料就很好閱讀了,就可以在裡面抓到你要的內容:
{
  "iss": "https://accounts.google.com", // The JWT's issuer
  "nbf":  ,
  "aud": "", // Your server's client ID
  "sub": "", // The unique ID of the user's Google Account
  "hd": "gmail.com", // If present, the host domain of the user's GSuite email address
  "email": "", // The user's email address
  "email_verified": true, // true, if Google has verified the email address
  "azp": "",
  "name": "",
                            // If present, a URL to user's profile picture
  "picture": "https://lh3.googleusercontent.com/a-/e2718281828459045235360uler",
  "given_name": "",
  "family_name": "",
  "iat": xxx, // Unix timestamp of the assertion's creation time
  "exp": xxx, // Unix timestamp of the assertion's expiration time
  "jti": "xxx"
}
最後記得要正式使用一定要把應用程式發布,發布前要通過驗證,再照著 google 的提示設定就好。
參考:
[JS] Google 第三方登入 API - GSI


![[PHP, JS] 解決手機上傳圖片時照片旋轉 90 度的問題](/assets/upload/1584021529831_0.jpg)
![[SEO] 注意瀏覽器相容性](/assets/upload/1635245410488_0.png)
![[Vue.js] 設定在不同條件讀取不同圖片](/assets/upload/1583563899683_0.jpg)
![[D3.js] 透過 .text() 插入文字內容](/assets/upload/1622463755482_0.png)


